My sister-in-law and her little family came up for Thanksgiving, so I’ve been gleefully soaking in the new baby sounds and snuggles. The little one has a diary sensitivity, so all the cooks needed to be a little creative with our recipes this year, but I came well prepared.
We spent a couple weeks in the classroom in culinary school learning about food allergies/sensitivities and how to compensate for them with ingredient substitutions. Dairy-free diets are probably the easiest to work with because there is a plethora of dairy-alternative products on the market that work just as well as the real thing. We made dairy-free pies and pie crusts, sweet potato gratin, and even hollandaise sauce using a vegan butter alternative (although, I admit the hollandaise was a challenge).
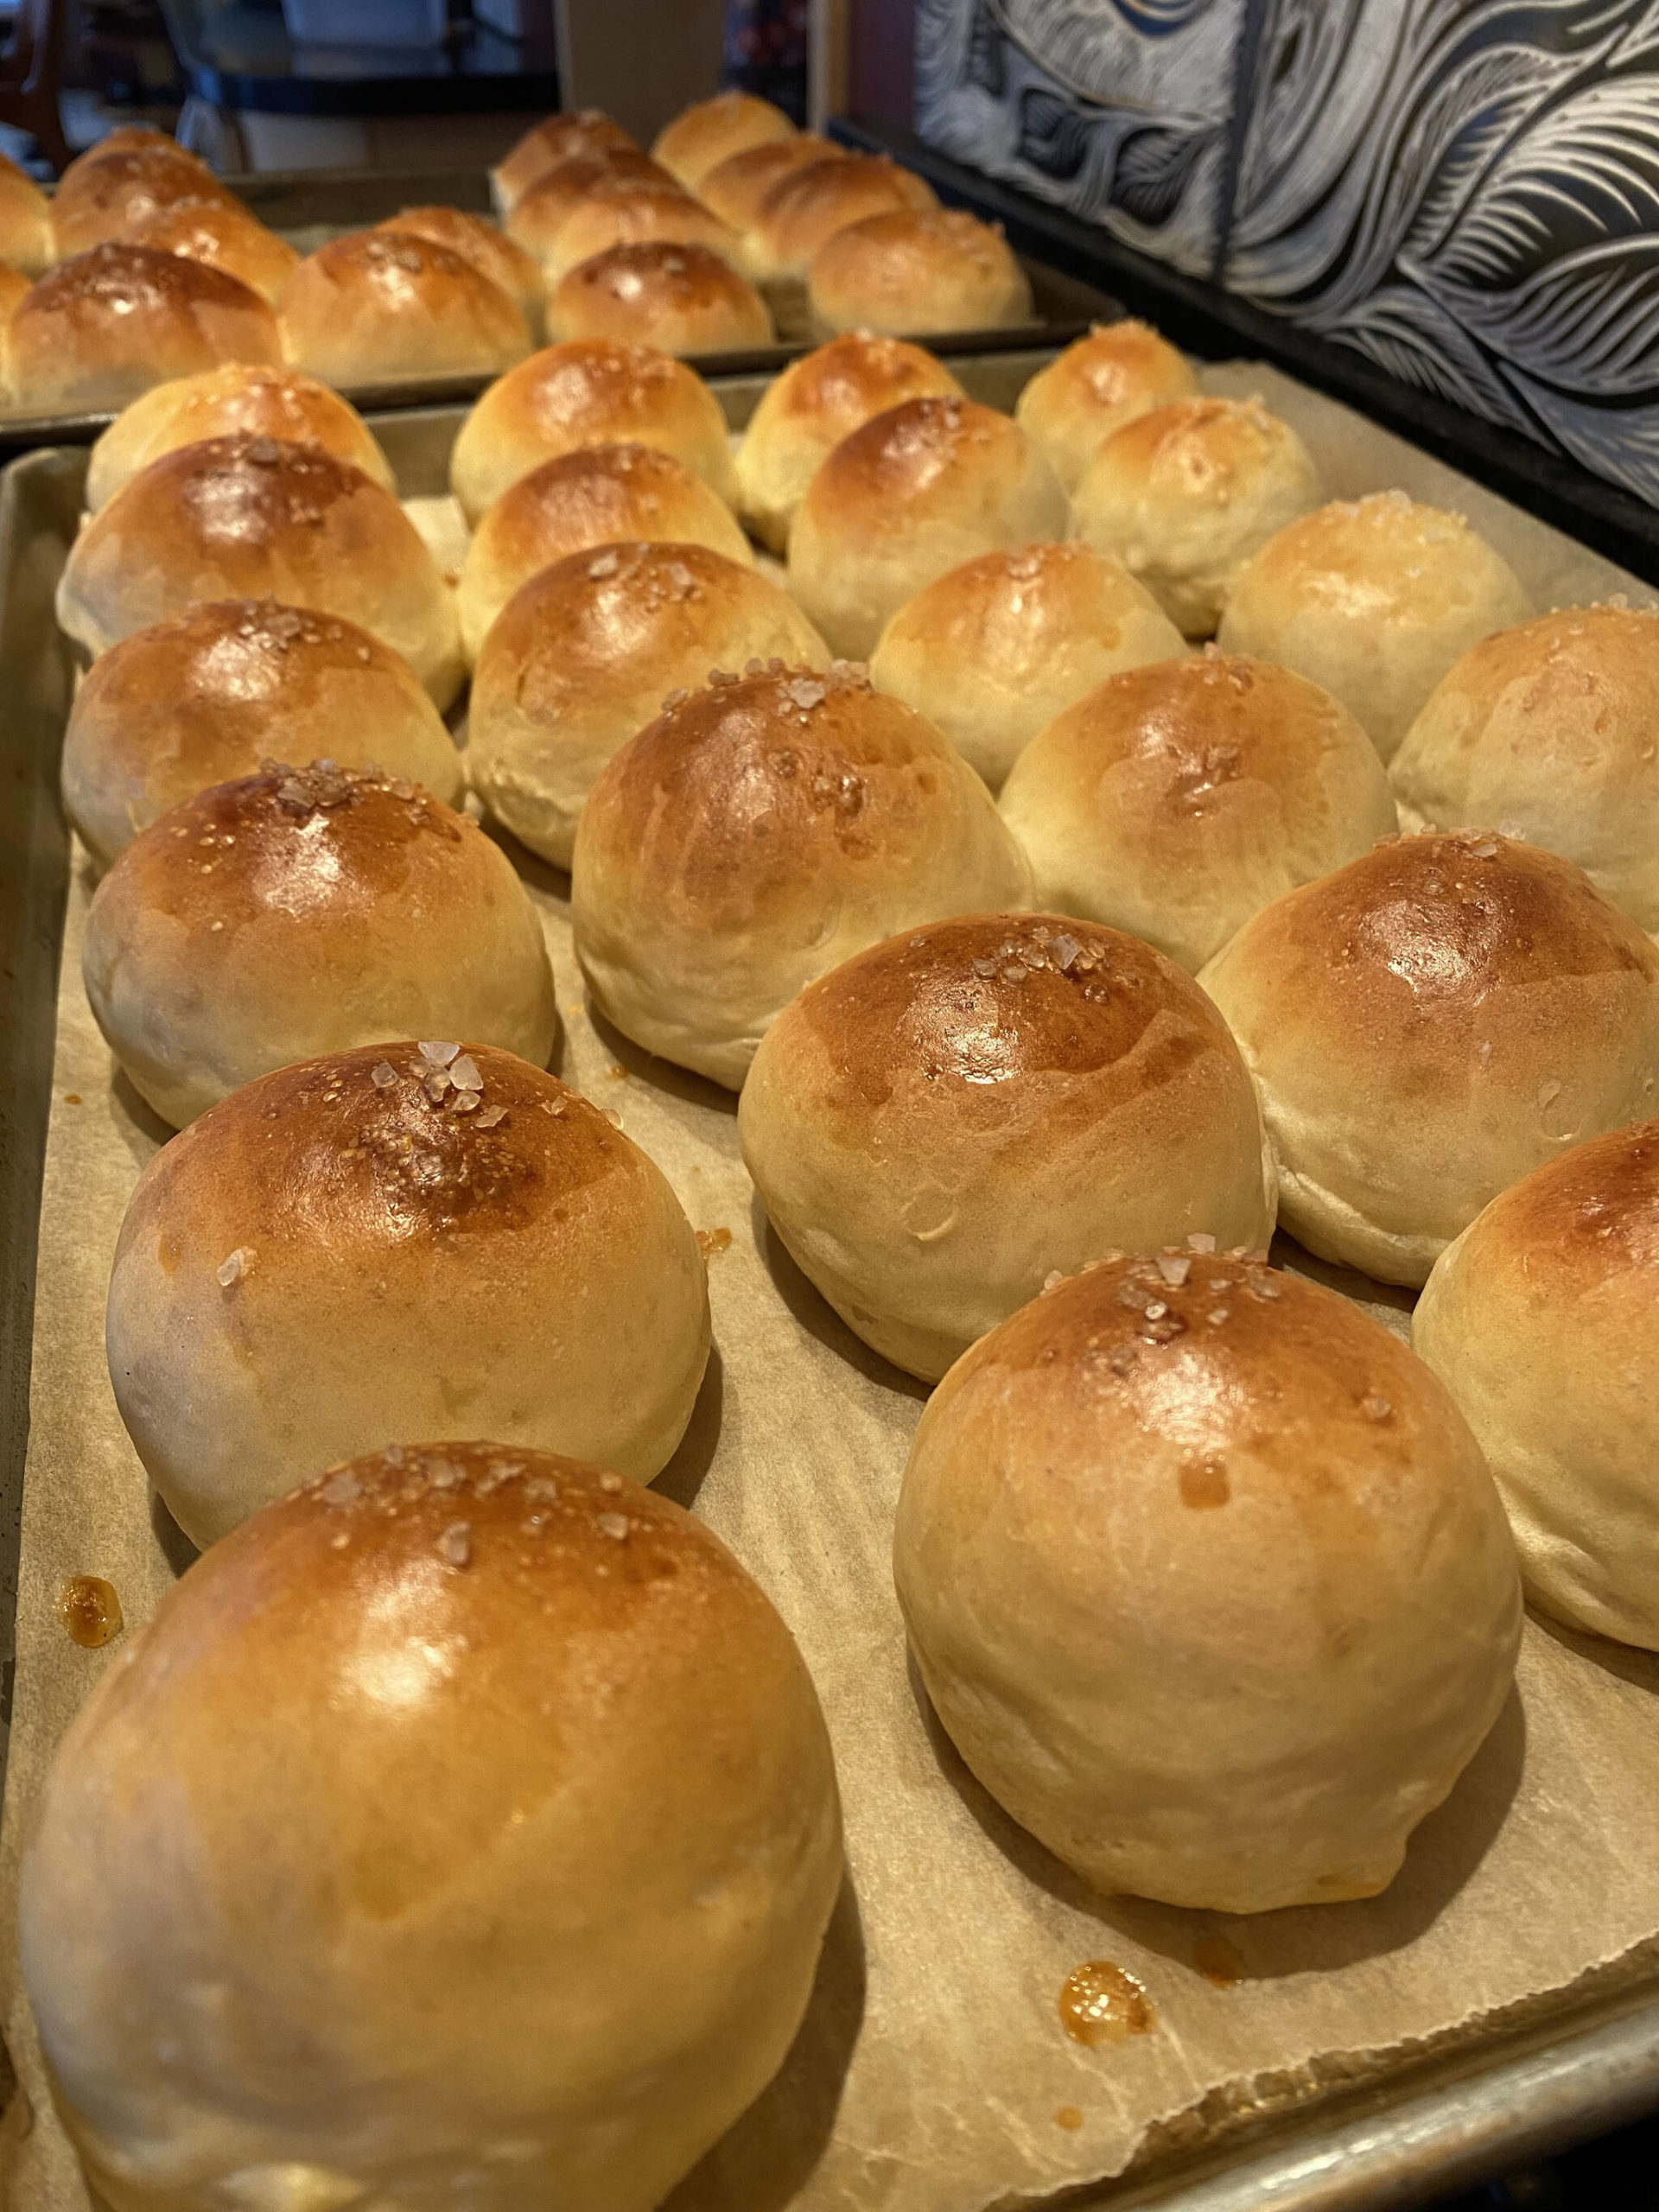
We love our dinner rolls in this family, especially for breakfast sandwiches the next morning, so I made four full batches of them. This recipe is easy, but requires a little time for two proofs, so plan ahead.
Ingredients for about 14 rolls
3 cups all-purpose flour
1 teaspoon salt
1 cup warm water
2 teaspoon active dry yeast
1 egg (plus 1 for the wash)
2 tablespoons vegetable or light olive oil
2 tablespoons sugar
Directions:
Combine your warm water, yeast, and sugar in the bowl of your mixer and let sit 5 minutes until bubbles form.
Sift together your flour and salt.
Add one egg and the oil to your water mixture and beat with the paddle attachment until thoroughly combined.
Switch to the dough hook attachment and add the dry ingredients in thirds.
Knead the dough either in the mixer or by hand for at least 5 minutes. The dough should be soft, smooth, and springy when it’s done.
Move the dough to a greased bowl, cover, and let rest until the dough has doubled in size. The time will be different depending on the temperature of the room. It took about 1.5 hours in our slightly cool kitchen.
Line a baking tray with parchment paper or a silicon mat.
When the dough has doubled its time to shape the rolls. Portion your dough into as close to equal portions as possible and roll them on your clean surface into smooth round balls about the size of golf balls.
Arrange on your lined baking sheet with two inches of space around each roll, cover, and let rise for about 30 minutes.
Preheat your oven to 350 F degrees.
When you see small bubbles forming under the “skin” on the top of the rolls they are ready to go in the oven.
Whisk an egg with a little water and brush the tops of the rolls with the egg wash, then top with a little coarse salt.
Bake for 20 minutes, rotating halfway. The finished rolls should be golden brown with firm tops and should make a hollow sound when you tap them.
Do yourself a favor and make a double batch.
They will last up to a week in the pantry in an airtight container or zip top bag. They also freeze very well and will last for weeks in the freezer. Just make sure the rolls are completely cool before storing or condensation will cause them to mold quickly.
Thaw them on the counter for a few hours before warming in the oven or toaster to revive.
Tressa Dale is a culinary and pastry school graduate and U.S. Navy veteran from Anchorage. She lives in Nikiski with her husband, 2-year-old son and two black cats.


